
Ah... Spring is in the air.
Even in New York, the weather is reaching the mid 60's this weekend. Let us rejoice!
Hopefully you're reading this blog on your phone while doing yogalates in Central Park (or something analogous to that).
Perhaps the most hateful expression related to Spring that I know of is "I'm no spring chicken". People always say this with such disdain. Sure, spring chickens might be naive. Maybe they were even born yesterday. But I'm sure they are perfectly friendly little birds that deserve some love.
Help me celebrate the joys of Spring and its chickens with these aptly named spring chicken cookies.

Ingredients
1 cup vegetable oil
1 cup granulated sugar
2 eggs
1 tsp mint extract
4 tbsp lemon juice
2 1/4 cups all-purpose flour
1/2 tsp baking soda
1 tsp salt
Peeps!! (You choose the color)
Green food coloring (optional)
Yield: roughly two dozen
Estimated cost: about 12$ per batch
Time commitment: 30 mins
I know what you're thinking. Yes, you can eat some of the Peeps now.
Nothing says "Spring" like a fresh package of Peeps - the marshmallowy treat that makes you feel all warm and gooey and sick inside. Say "Spring!!" louder and prouder by placing them atop delicious sugar cookies.
Whisk the sugar, oil, mint extract and lemon juice together in a large bowl until it comes together. Crack the eggs into the bowl and combine thoroughly. In a separate bowl mix together the flour, salt and baking soda. Then, fold the flour mix into the wet ingredients, about 1/3 of the volume at a time. Fold with a spatula and avoid over mixing for softer cookies.

Place 1 inch blobs of dough onto a cookie sheet lined with greased tin foil. Bake the dough for 10 minutes at 350F.
While the cookies are in the oven you might be asking "what should I do with the few Peeps I haven't already consumed"? Get out a cutting board, channel your inner serial killer and chop those bad boys in half, either lengthwise or separating the head from the tail.

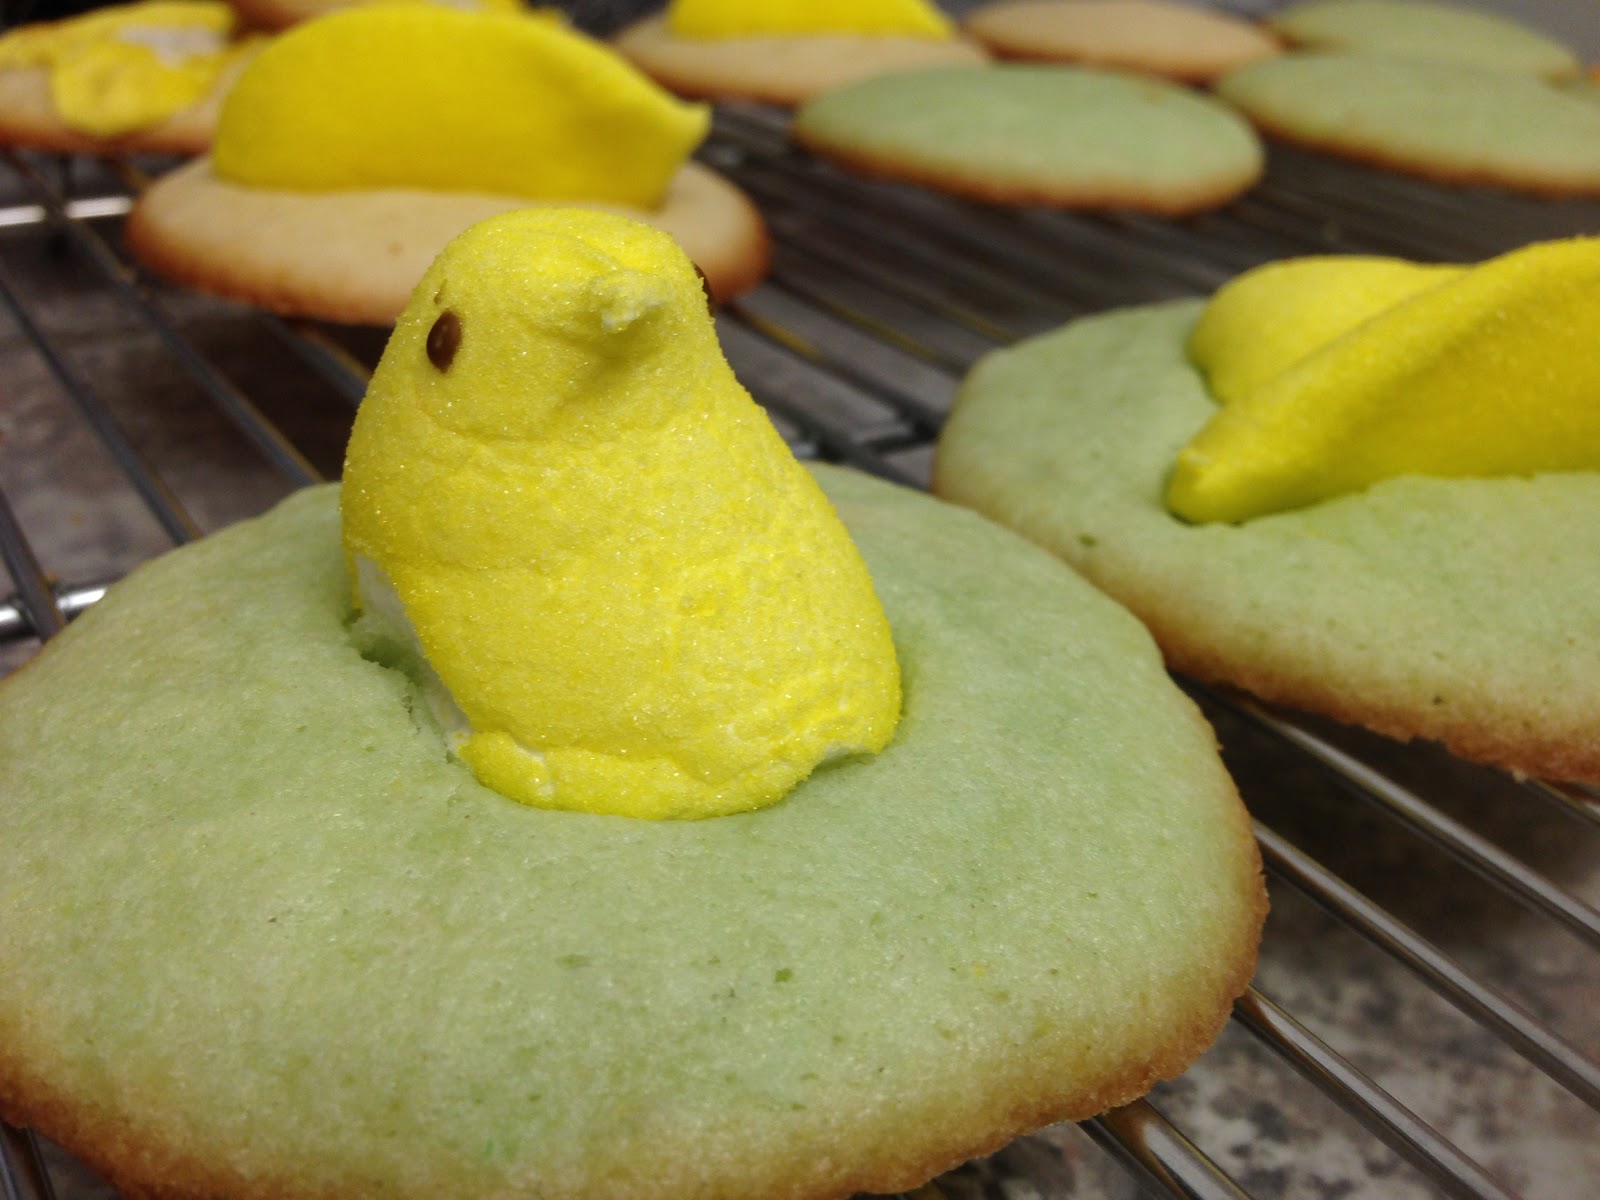
First, I tried baking the cookies with the Peeps already on top.

Hey, I'm not perfect. Tasty for the mouth, but not for the eyes. Ironically, they melted to look like fried eggs.
Here's a better idea:
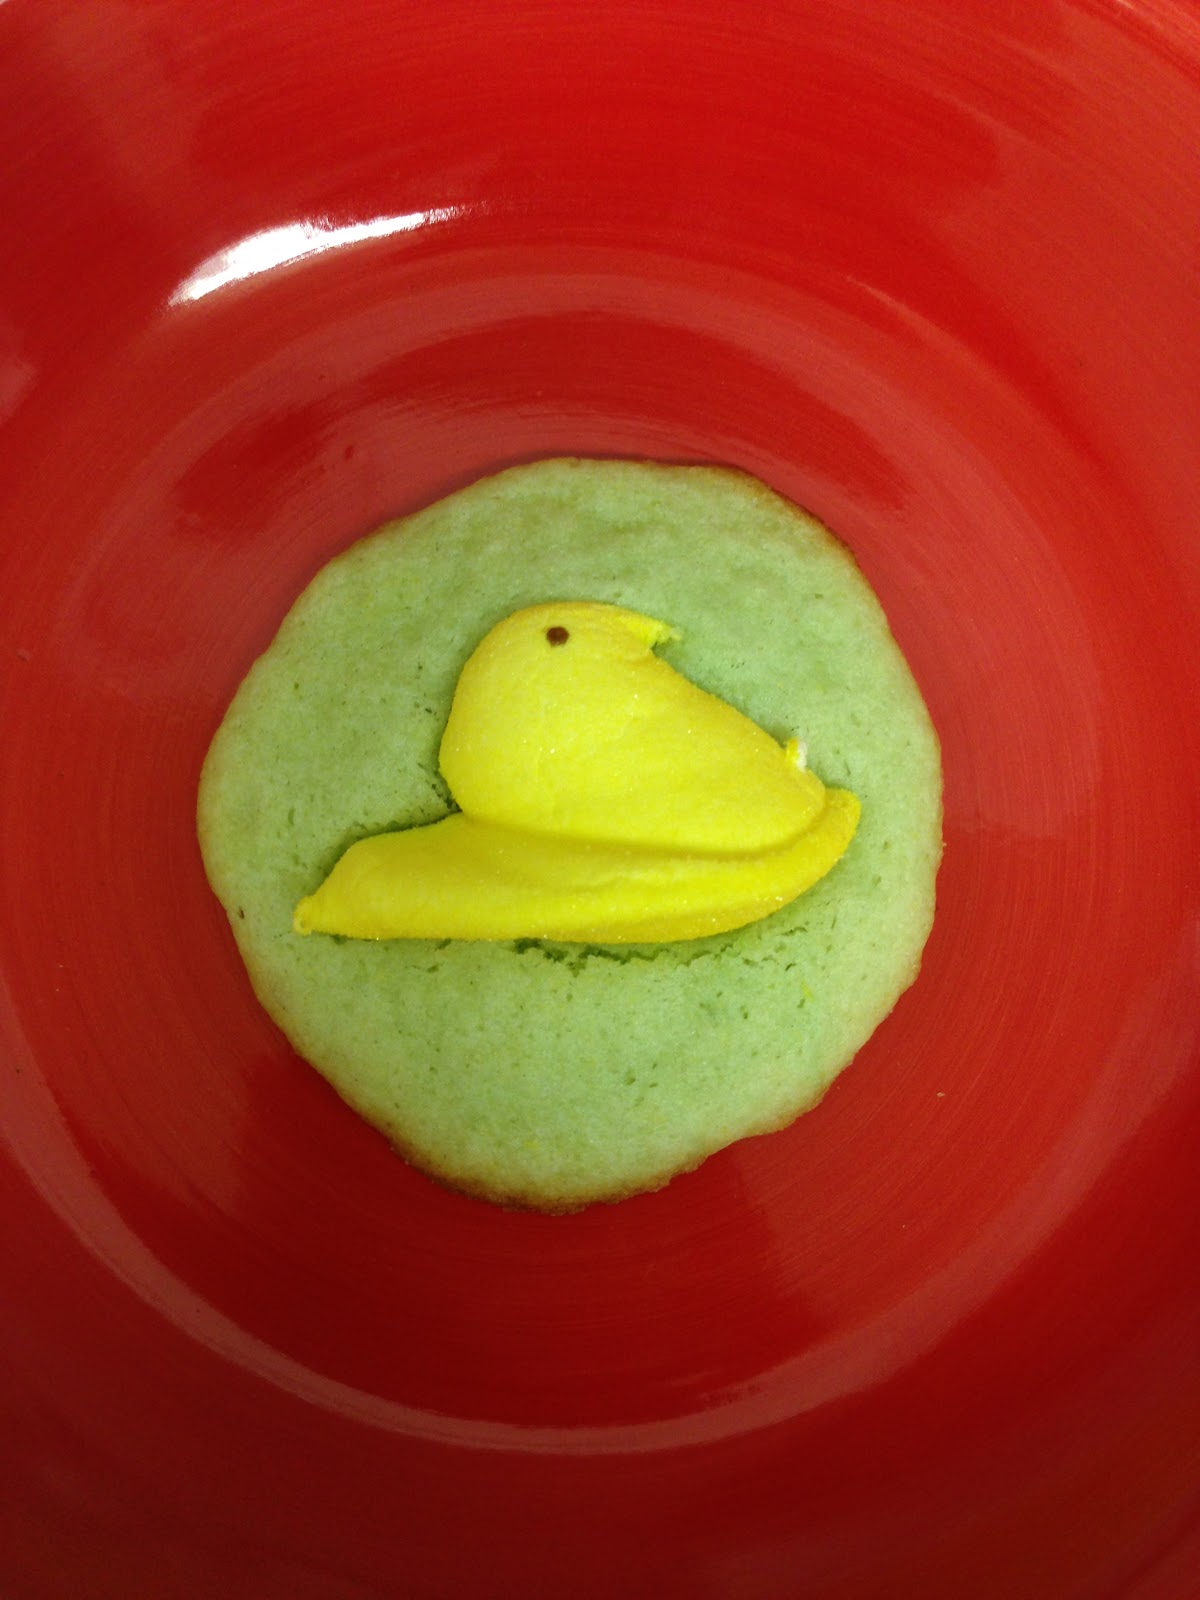
After 10 minutes of baking, remove the cookies from the oven and immediately lay the slaughtered Peeps flat on top of each cookie. Press the Peep lightly into the dough. Leave the cookies to cool on the sheet for at least two minutes before moving them to a wire rack. The Peeps will fuse with the dough during the cooling process.
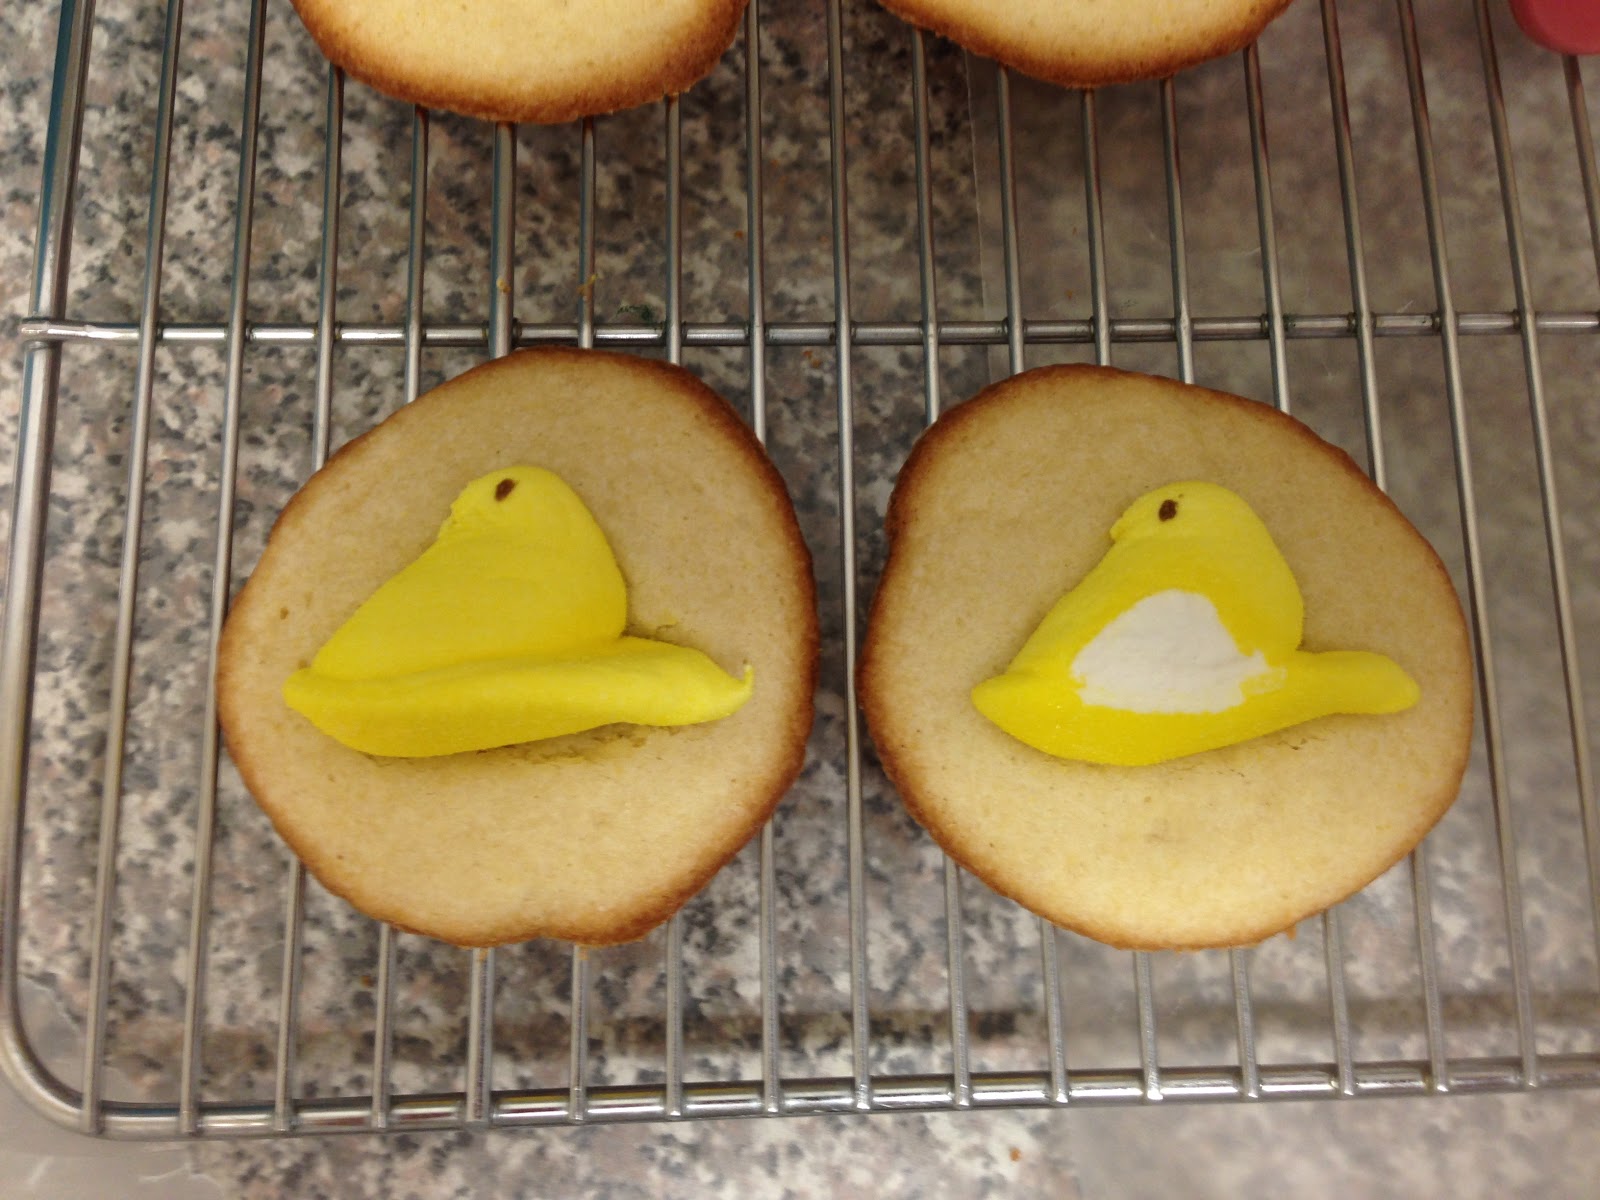
Want to get really fancy? Add a bit of green food coloring to your batter (maybe 4 drops) before baking to make those mallow chicks really pop.
While not legally allowed to say so, I like to think of these cookies as "reduced calorie" since I only used half a Peep per cookie. (This last sentence can also be found under the definition of wishful thinking).
If you want to have a truly low-cal cookie experience, I recommend just looking at the cookies instead of eating them.
Happy Spring Everyone!
No comments:
Post a Comment
Please keep comments family friendly, or you will be moderated.